How to Create a WordPress Child Theme for Divi
- Custom PHP code: If you need to add some custom PHP code to your website, for example, to add some WordPress hooks or page templates, then a child theme is the way to go.
- Custom CSS styles: While it is possible to add custom CSS styles to WordPress without a child theme, it can be more convenient to save your styles in a file in your child theme. This has several benefits. If you save your styles under Divi → Theme Options → Custom CSS, then first of all its quite hard to read and edit the styles as the editor lacks functions of proper code editors like Visual Studio Code. But theres also another good point for the child theme…
- Reusability: If you use a child theme, you can simply upload the finished zip file to any website and immediately re-use all your functions and styles. No more copy-paste. Advanced users can even add custom settings to either the Divi Settings Panel or their own settings page to enable/disable certain functions/styles.
As you see, there are some pretty good reasons to create and use child themes on your Divi website. So how do you do it? It’s really simple.
Feel free to read ahead to learn how to create a Divi child theme from scratch but if you just want the files, then we suggest you head over to our Divi Child Theme Generator and quickly create your Divi child theme there.
Head over to your WordPress installation. This can be a local installation or your websites FTP server but it’s not really necessary if you want to upload your child theme for Divi to your website later. But for the sake of testing your very first child theme, we recommend creating it inside your existing WordPress installation.
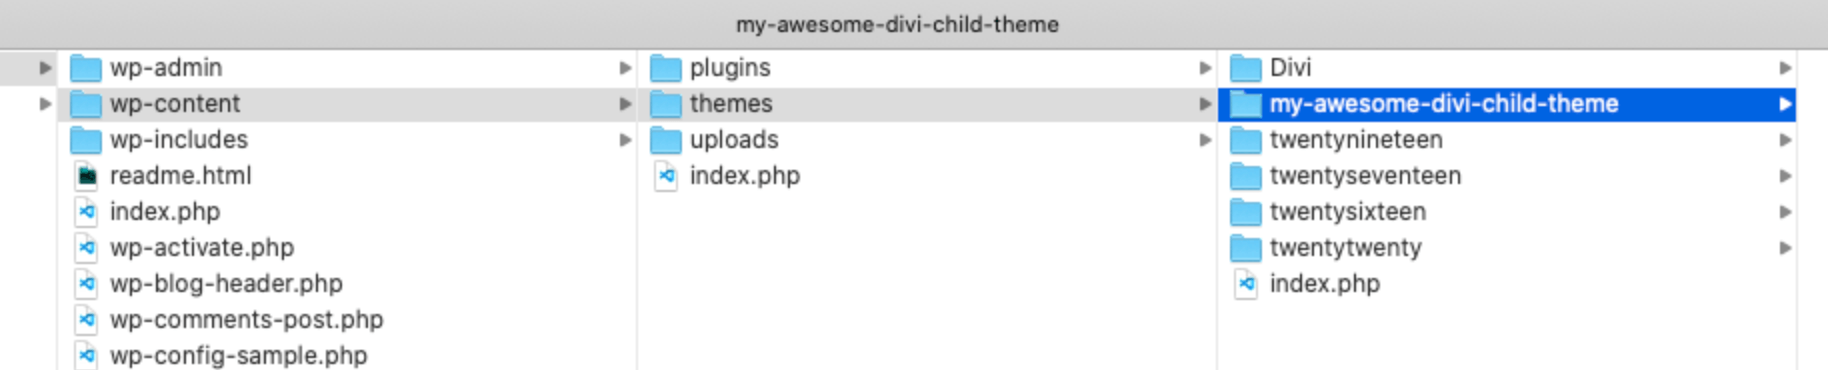
Once you are in your WordPress folder, head over to /wp-content/themes. Here you should already see your Divi theme folder along with other themes you have installed in your WordPress installation. Now create a new folder with the so called slug of your Divi child theme. That is by convention a lowercased version of the name of your child theme where spaced are replaced by dashes.
For example, let’s say you want to call your child theme for Divi “My Awesome Divi Child Theme”. Then the slug would be my-awesome-divi-child-theme. Ok, so create a folder with that name:
The next step is to create a new file inside that folder. That is the very base for every WordPress theme and for our custom Divi child theme. The file is called style.css. Use a text or code editor of your choice (we prefer the free Visual Studio Code) to create a new file and start adding the following content to it:
/*
Theme Name: My Awesome Divi Child Theme
Theme URI: https://www.divi-pixel.com/my-awesome-child-theme
Author: Divi Pixel
Author URI: http://divi-pixel.com/
Template: Divi
Version: 1.0.0
Text Domain: my-awesome-child-theme
Description: This is my very first but totally awesome Divi child theme
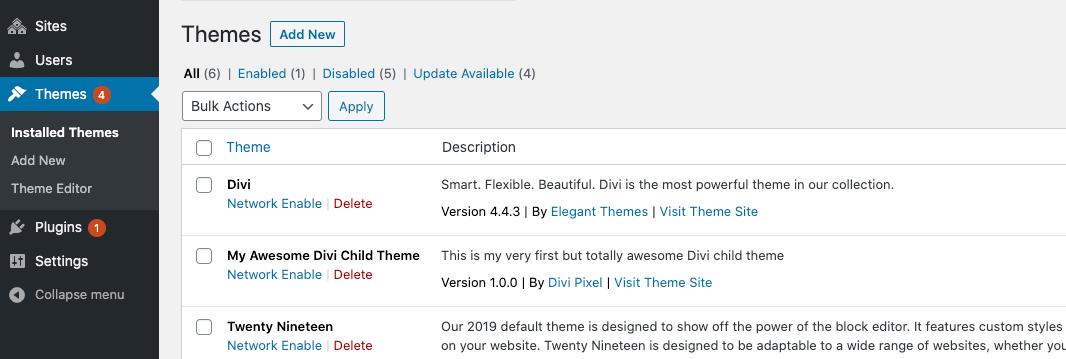
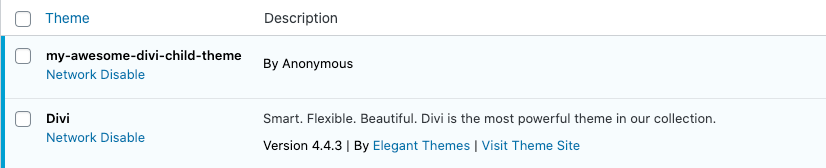
*/Save the file as style.css in your child theme folder. That’s basically all you have to do to create a Divi child theme. Head over to your WordPress backend and check the Appearance → Themes section. On multisite installations, you can see the two different links.
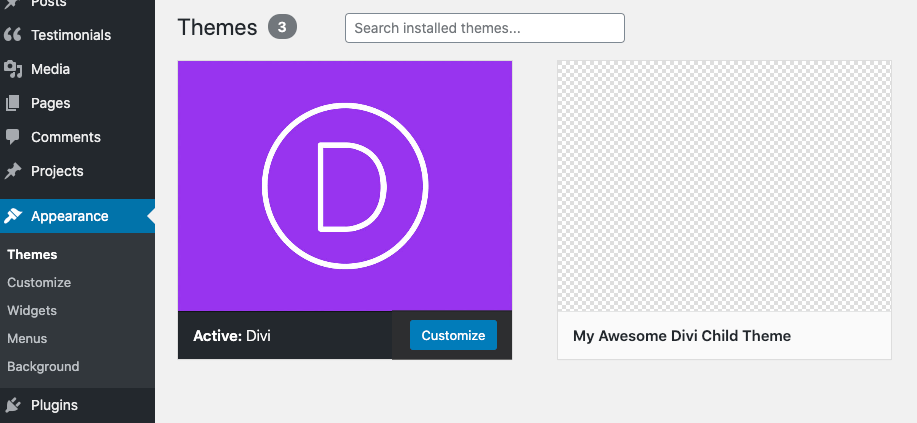
On single site installations, it looks a bit different. Well, a little bit… wrong… but we’ll fix this later.

Here’s a little explanation of what exactly we did above. First, let’s start with /* and */ in the first and last line. In CSS that’s a so called comment. Comments are there for humans to read and normally have no effect. However, WordPress can read the very first comment in a themes style.css file and interpret it to display some values on the admin pages.
Next, we have different values. They are mostly self-explanatory. You add the child themes name. If you have a website especially for this child theme you can add it with Theme URI. The Template has to be the slug of your parent theme. In our case, the parent themes folder is /wp-content/themes/Divi so we use Divi here.
The Text Domain is used for translations but that’s a topic of its own. If you would like to learn more about internationalization and translatability, write us a comment and we might tackle this in a future tutorial. 😉
Finally, we have the description, which is also self-explanatory. Basically the only field you need to create a Divi child theme is the Template field. All other fields are optional but highly recommended. Because otherwise, it just doesn’t look good, does it?
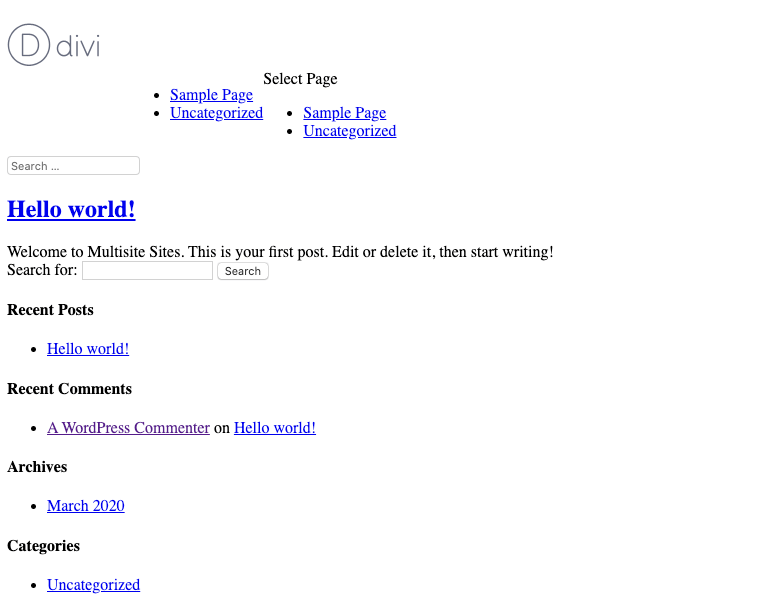
There are basically no styles applied to your website at all. This is because each theme has to enqueue the styles it wants to load. Normally Divi would do that but since we now use our own theme, we have to manually do that. But no worries, it’s super simple. Create a new file called functions.php next to your style.css. The content of the file will be:
<?php
function madct_enqueue_scripts()
{
    wp_enqueue_style('madct-child-style', get_stylesheet_uri());
    wp_enqueue_style('madct-parent-style', get_template_directory_uri() . '/style.css');
}
add_action('wp_enqueue_scripts', 'madct_enqueue_scripts');
Here we add our first WordPress hook. WordPress will ask your theme to enqueue all the CSS styles and we will enqueue not only our own child theme styles but also Divis styles. That solves the issue of our page having no styles at all. Now we are set.
As for the function we used, it is a good idea to add a so called vendor prefix to your functions because in PHP there can only be one function with the same name. If everybody would use a function “enqueue_scripts” then it would cause errors. Since our slug is my-awesome-divi-child-theme, we choose a prefix match.
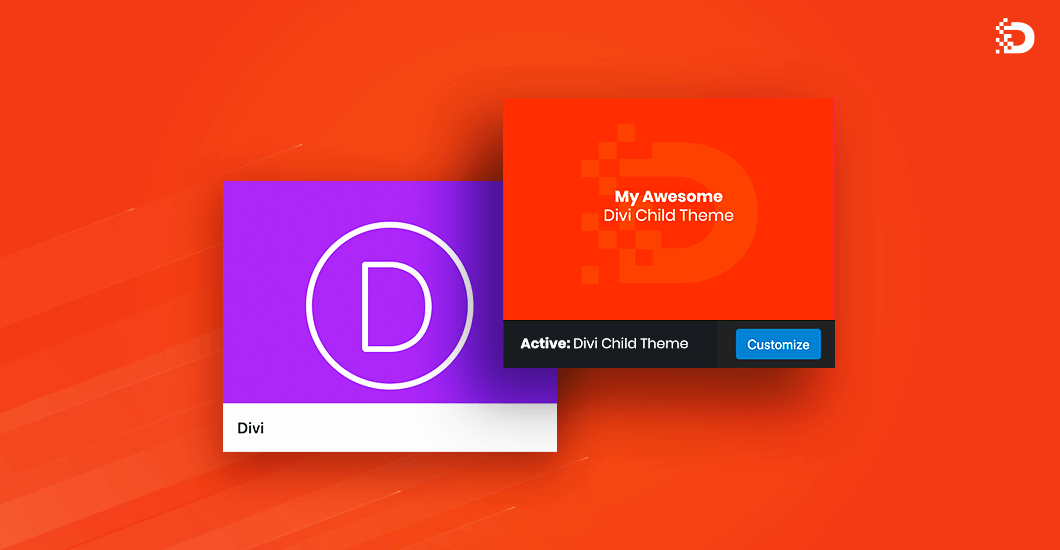
The last thing you should do is add a screenshot. Simply add an image with the dimensions 880x660px, the filename screenshot and the filetype png or jpeg. Now you are good to go. If you created your child theme right on your website then you can stop right here. But if you want to re-use your Divi child theme on other websites as well, then follow the next step.
Distributing your child theme is really easy. Simply pack the folder into a zip file and you are good to go. Most operating systems let you right-click the folder and choose something along the lines of “compress” or “create zip” and if you setup your child theme on your website, most FTP programs let you download the folder and do the compression for you already.
Then all which is left to do is maybe rename the zip file to reflect your child themes slug. Now you can head over to any other website, login to the WordPress backend, go to Appearance → Themes, click on Add New and upload your Divi child theme zip file.
Creating a child theme for Divi is way less scary than you might have thought and it brings you many benefits. Now that you have a child theme running, why don’t you try one of our other tutorials like renaming Divis Project post type?

Jan Thielemann
Jan is the co-founder of Divi Pixel. He is a professional software developer who started developing for WordPress as a hobby. When he made his first contact with Divi in 2016, he immediately saw the potential. Shortly after he developed his first Divi plugin, which was a huge success, he started a side business selling various Divi related products. He's an expert known throughout the whole Divi developer community.
Enhance your Divi Theme with Custom Settings and New Modules. Start Creating Awesome Websites with the Divi Pixel
We offer a 14 Day Money Back Guarantee, so joining is Risk-Free!


Will this export any divi settings you’ve set up as well? If not, is there a way to include those in the child theme?
Hi Melissa,
No. If you want to export/import Divi Theme Options, you need to go to Divi/Theme Options and use import/export functionality.
You have mentioned good points for knowledge. I would like to add some short methods for creating a wordpress child theme. Check them below:
Step1: Set up a new folder
Step2: Create a style.css file
Step3: Add the required information
Step4: Enqueue the parent and child theme stylesheets
Step5: Activate the child theme
Step6: Customize the child theme
Step7: Update and maintain your child theme
These are some short points. Readers, If you want to develop your wordpress website, you can visit an IT company like Alakmalak technologies. They have 17+ years of experience in this field.