Introducing New Balloon Module

In January this year, we unearthed this module and decided to finally finish it. Even though we thought the module was almost ready and a few small tweaks were only needed, we found out we were wrong. While testing, we found a lot of issues, but we were determined to fix them all and build a module that would allow you to create tooltips easily.
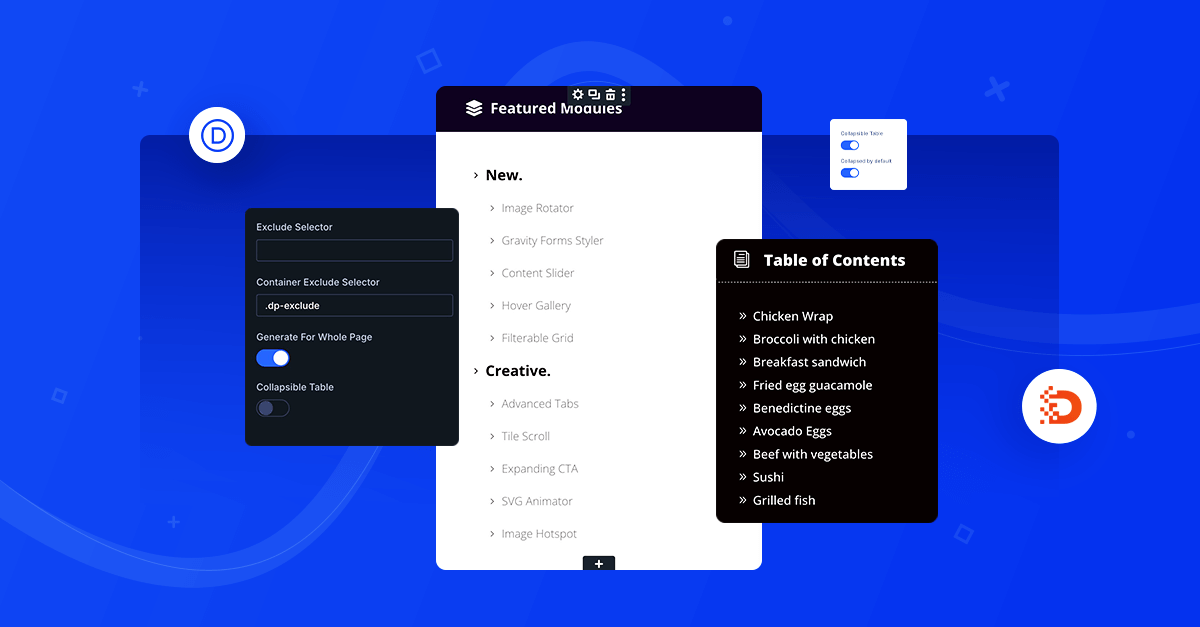
We have updated the Divi Pixel Roadmap page with all coming and planned features and modules, so if you are eager to see what’s coming, check the Plugin Roadmap.


The sky is the limit!
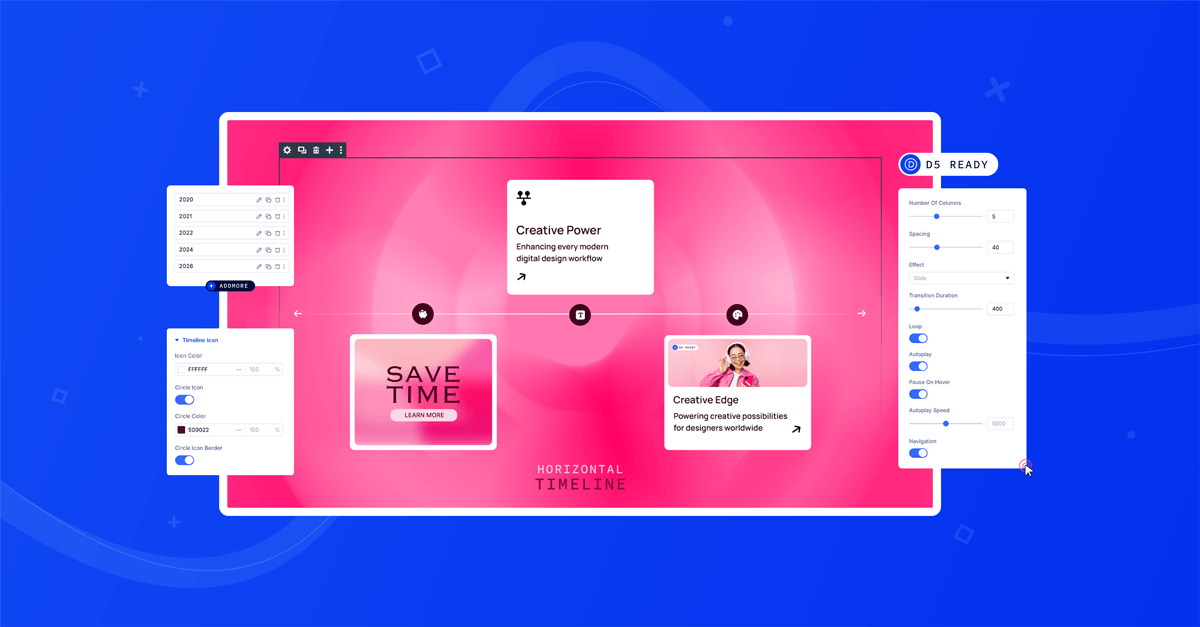
In Content Settings, we can find a few options where we set our tooltip Selector, Placement, Animation, Content Type, and Alignment. We have two options for Content Type: we can select Manual Content or Divi Library Item. If we choose Manual Content, we can then add Icon/Image, Title, Description, and Button and style the tooltip on a page where we have added the module. The Manual Content type should cover most of the use cases.
For more complex tooltips we can choose Divi Library as a Content Type. This allows us to build our tooltip using the Divi Builder by saving the layout/row/module to the Divi Library and by selecting it in Balloon module Content Type settings.

Trigger tooltip on any element you want
To add a tooltip to our page, we need to add the Balloon module and define its Selector. We can use a class like .my-balloon or element ID which would look like #my-balloon. In the next step, we need to add this class/ID to the module/element on our site which will trigger the tooltip.
In the below sample we’ve added Balloon and Button modules to our layout. The Balloon module will display a dummy element that can be customized and will be shown when we hover or click on the element with our Selector. In Balloon Content Settings we need to define our selector, and finally, we need to add this selector to the module where we want to trigger the tooltip. To do that, we need to open the Button module settings, go to the Advanced/CSS ID & Classes field and add our selector to the CSS ID or CSS Class field.
Add Balloon module to your page
Add selector in Balloon module Content Settings
Add selector to the element you want trigger Balloon on

The Divi Pixel Documentation can be accessed from the header menu on this page.

And this is it for now, but we will be back with a new module soon! If you are Divi Pixel user, then enjoy using the new Balloon module. If you are considering purchasing our plugin, then this is the right time! We offer a 14-day money-back guarantee, so joining Divi Pixel is 100% risk-free! Take your designs to the next velev with the Divi Pixel plugin.

Maciej Ekstedt
Maciej, co-founder of Divi Pixel, is a passionate web designer with over 15 years of experience. He has developed dozens of loved Divi products that have earned recognition from the global community. When he's not working on new ideas, he enjoys gardening, walking his dog, and spending time with friends.
Enhance your Divi Theme with Custom Settings and New Modules. Start Creating Awesome Websites with the Divi Pixel
We offer a 14 Day Money Back Guarantee, so joining is Risk-Free!

Exciting!!! Can’t wait to try this plugin out. Thank you Divi-Pixel Team!