Meet the new Divi Pixel feature: Maintenance Mode

Today we are excited and would like to introduce you to the new version of Divi Pixel with a completely new Maintenance Mode feature 🤩
Making small changes to your Divi site does not always interfere with its normal operation, but if your website needs to undergo major changes, you may need to take it out of service and make it unavailable to visitors for a limited period of time. When this happens, putting your site into maintenance mode can alert visitors to the situation and keep them engaged with your company and brand while installing new plugins, changing themes, or doing other work on your site or server.
In many cases, when we build a new website for a client, we do so on the client’s server using the correct domain. When we are working on a new website, we obviously don’t want our visitors to see our work while it is in progress. To remedy this, we can switch the site to Maintenance Mode or Coming Soon page, which we can design ourselves using Divi Builder, and display it to all visitors who are not logged in to the site.
The new Divi Pixel functionality allows you to switch to Maintenance Mode with a few clicks. Based on feedback from Divi Pixel Users Community, we also added a very useful option that allows you to generate or set your own link so that the customer can visit the site and see the changes.
Introducing Maintenance Mode for Divi
Setting up Maintenance Mode in Divi has never been easier. With the Divi Pixel plugin, you can do this in no time and you don’t need any other 3rd party plugins or custom coding. The process is quite easy. You just need to add a new page to your Divi site and design your own page that will be displayed when Maintenance Mode is active. Once you have your page in place, you just need to go to the Divi Pixel plugin settings, enable Maintenance Mode and select the page that will be displayed to visitors.

VIP Access
When the Maintenance Mode is active, all visitors who are not logged in will see the page we have selected in plugin settings. But what if we want our client to see the page we are working on? To make this happen we have integrated the VIP Access feature thanks to which we can generate a link or use our own, and share it with the client. Accessing the page using generated link will bypass the Maintenance Mode, so the customer will see the entire page.

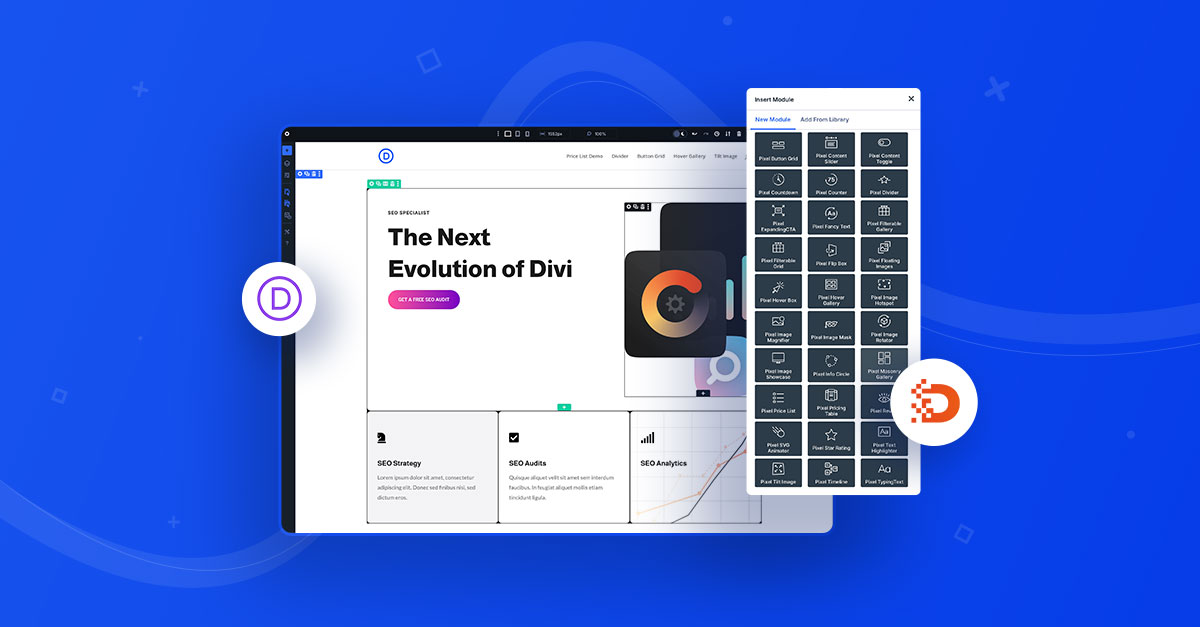
Allow TTF, OTF and WOFF file uploads
Divi allows us to use custom fonts in modules, however, WordPress doesn’t allow us to upload such files by default. In this version of Divi Pixel, we have added a new option that will allow us to upload custom font files. All you need to do is to enable Allow TTF, OTF and WOFF File Uploads in the Divi Pixel plugin settings and the problem is solved. Once this option is enabled, we can upload TTF, OTF or WOFF font files and use them on our website.

That’s all for today. We hope you will like the new features added to the Divi Pixel plugin. Later this week we will release Coming Soon Layout Pack with 12 beautiful layouts that you can use on your Divi site in no time, so stay tuned!

Maciej Ekstedt
Maciej, co-founder of Divi Pixel, is a passionate web designer and marketing expert who thrives on turning creative ideas into effective strategies. His fascination with the intricacies of megalopolises influences his work, where he meticulously crafts detailed solutions for his company.
Enhance your Divi Theme with Custom Settings and New Modules. Start Creating Awesome Websites with the Divi Pixel
We offer a 14 Day Money Back Guarantee, so joining is Risk-Free!


Great addition. I used to use a plugin that only did this. Now I need one less plugin. Thanks guys!
Awesome, thanks guys for your great work.
Allowing WOFF is a great addition. I assume this includes WOFF2