How to Create Process Steps with Timeline module

Every web design project consists of a number of steps that need to be taken on a repetitive basis. Although each project and its requirements are unique, the series of tasks required to start and run a commercial website is the same.
A well-defined website design process includes an overview of the steps required to complete the design and development. A clearly defined and documented web design process can reduce the time to complete the project, increase efficiency and ensure that no key steps are missed.
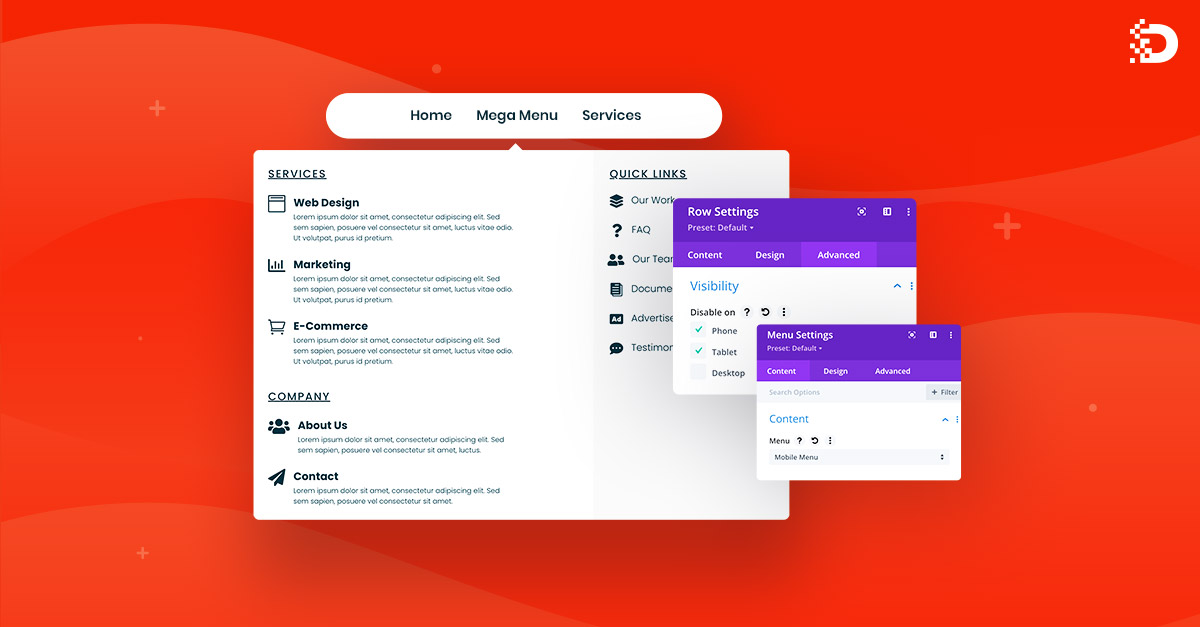
The Divi Pixel Timeline module has powerful settings. We can create a nice timeline to showcase the company history in a nice and interactive way, but we can also use it for creating process steps on our Divi website.
This tutorial will show you how to create a numbered process steps section using the Divi Pixel Timeline module. I will share with you a simple custom CSS code that will replace the Timeline Icon with numbers.
Add a custom class to the Timeline module
If you want the Timeline module to display numbers globally instead of icons, you can skip this step, but if you want to apply this to only 1 module on your website, you need to add a custom class into it.
- Open the Timeline module settings
- Go to Advanced → CSS ID & Classes
- Add process_steps class to CSS Class field

Add Custom CSS
Using the Divi Pixel Timeline module we can select the Timeline Icon for each child module and customize it in the Design module settings. If we want to display numbers instead of an icon, we will need to add a bit of custom CSS.
- Go to Divi→Theme Options
- Add the following code to Custom CSS

Note: Use 1st part of code to use numbered Timeline globally, so it will apply to all Timeline modules on your Divi website. Use 2nd part of code to apply numbered Timeline only to the modules with the Custom CSS class added (.process_steps).
CSS
/* Use numbered timeline globally */
.dipi_timeline {
counter-reset: timeline;
}
.ribbon-icon.ribbon-icon-circle {
    font-size: 0 !important;
}
.et-db #et-boc .et-l .dipi_timeline_item .ribbon-icon:after,
.dipi_timeline_item .ribbon-icon:after {
counter-increment: timeline;
content: counter(timeline) !important;
font-family: 'Open Sans', Arial, sans-serif !important;
width: 20px;
height: 20px;
line-height: 20px;
text-align: center;
font-size:1rem !important;
}

/* Use numbered Timeline with Custom Class */
.process_steps.dipi_timeline {
counter-reset: timeline;
}
.process_steps .ribbon-icon.ribbon-icon-circle {
    font-size: 0 !important;
}

.et-db #et-boc .et-l .process_steps .dipi_timeline_item .ribbon-icon:after,
.process_steps .dipi_timeline_item .ribbon-icon:after {
counter-increment: timeline;
content: counter(timeline) !important;
font-family: 'Open Sans', Arial, sans-serif;
width: 20px;
height: 20px;
line-height: 20px;
text-align: center;
font-size:1rem !important;
}
Free Download
If you are not good with tutorials, we have prepared something special for you. It’s a ready-to-use section with numbered Timeline module. This section has already custom CSS code added, so all you need to do is download it, import to your Divi Library, and add to your page.

We hope you enjoy reading this tutorial as well as the free section we are sharing with you. There are more cool tutorials to come, so please make sure to sign up for our newsletter. If you haven’t purchased the Divi Pixel plugin yet, now it’s the right time. We are offering up to 20% off in our Summer Sale

Maciej Ekstedt
Maciej, co-founder of Divi Pixel, is a passionate web designer with over 15 years of experience. He has developed dozens of loved Divi products that have earned recognition from the global community. When he's not working on new ideas, he enjoys gardening, walking his dog, and spending time with friends.
Enhance your Divi Theme with Custom Settings and New Modules. Start Creating Awesome Websites with the Divi Pixel
We offer a 14 Day Money Back Guarantee, so joining is Risk-Free!